Thanksgiving is a time for family, gratitude, and, of course, food. As the centerpiece of your feast, the turkey can make or break your holiday meal. Nothing beats the aroma of a golden-brown turkey coming out of the oven, and when cooked properly, it should be moist, tender, and packed with flavor. Here’s your step-by-step guide to cooking the perfect Thanksgiving turkey.
Choosing the Right Turkey for Moisture
The foundation of a moist turkey starts with the bird itself. The right turkey can make a significant difference in the end result. When selecting your turkey, try to choose a fresh bird if possible. Fresh turkeys haven’t been frozen, which can help retain more moisture during cooking. If you’re purchasing a frozen turkey, make sure to thaw it properly in the fridge for several days before cooking—this prevents uneven cooking and ensures the meat remains moist.
Opting for an all-natural, free-range turkey is another excellent choice. These turkeys are generally more flavorful and have better texture, as they aren’t injected with additives or preservatives that can dry out the meat. A 12-14 pound bird is typically a good size for 8-10 people, but be sure to adjust based on the size of your gathering.
Brining Your Turkey: The Key to Juiciness
Brining is the secret to a moist turkey. This simple technique involves soaking the turkey in a saltwater solution before roasting. It helps the bird absorb water, seasoning, and flavors, preventing it from drying out in the oven. There are two types of brines you can choose from: wet brine and dry brine.
For a wet brine, dissolve 1 cup of kosher salt and 1/2 cup of sugar in 1 gallon of water. Submerge the turkey in the brine for 12-24 hours in the refrigerator. The salt draws moisture into the meat, while the sugar helps brown the skin.
If you’re looking for a simpler method, dry brining is just as effective. Apply a mixture of salt and any preferred seasonings (such as garlic powder or thyme) all over the turkey and inside the cavity. Let it sit in the refrigerator for 24-48 hours. Dry brining helps the skin get crispy, while the salt penetrates the meat, locking in moisture.
Preparing the Turkey: A Flavorful Foundation
Once your turkey has been properly brined, it’s time for preparation. Begin by removing the giblets from the bird’s cavity and pat it dry with paper towels. Moisture on the turkey’s skin can prevent it from crisping up, so drying the bird is crucial to achieving that perfect golden-brown skin.
Now, rub the entire turkey with a generous amount of olive oil or melted butter. This will help the skin brown evenly and add richness to the flavor. Season the turkey generously with salt and pepper. You can also include a mix of your favorite herbs like rosemary, thyme, and sage. These classic Thanksgiving herbs pair beautifully with turkey and give it that aromatic flavor that makes the holiday meal unforgettable.
To enhance the flavor even more, stuff the turkey cavity with aromatics such as quartered onions, garlic, and fresh herbs. These ingredients will release their fragrance and flavors while the bird cooks, infusing the meat with extra depth.
Cooking the Turkey: Roasting for Moisture and Flavor
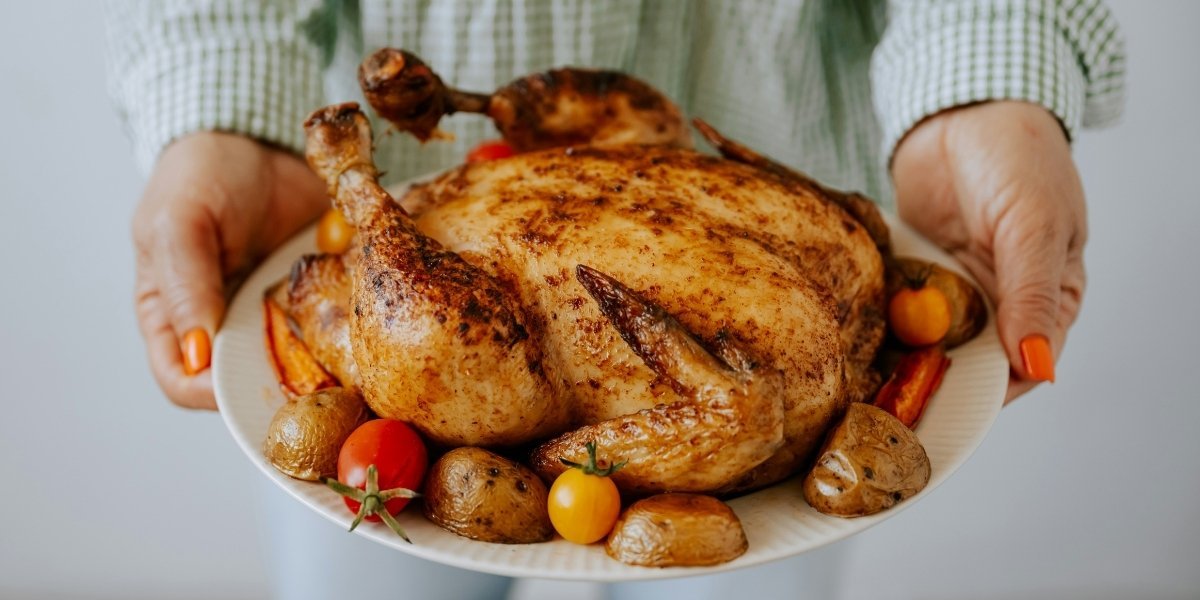
Now that your turkey is prepped and seasoned, it’s time for roasting. The key to a juicy turkey lies in the cooking temperature and time. Start by preheating your oven to 400°F. This initial burst of high heat helps crisp the skin and brown the bird. After 30 minutes, lower the temperature to 325°F to continue roasting the turkey at a steady pace.
The turkey should cook at this lower temperature for about 13 minutes per pound. For example, a 12-pound bird will take approximately 2.5 to 3 hours. You can check the turkey’s internal temperature using a meat thermometer. Insert the thermometer into the thickest part of the breast, making sure not to touch the bone. The turkey is done when it reaches 165°F.
While some cooks recommend basting the turkey every 30 minutes with its juices to keep it moist, this step is optional. Basting helps the skin stay shiny and golden, but opening the oven door frequently can extend the cooking time. If you do choose to baste, use a spoon or baster to apply the juices without overexposing the turkey to heat.
Resting the Turkey: The Final Step for Juiciness
After roasting, don’t rush to carve the turkey. Let it rest for at least 20-30 minutes. During this resting period, the juices within the turkey redistribute throughout the meat, ensuring each slice is juicy and flavorful. Carving the turkey immediately can cause all the juices to run out, leaving you with a dry bird.
You’ll also want to tent the turkey loosely with foil during this resting time to keep it warm.
Carving the Turkey: The Right Way
Once your turkey has rested, it’s time to carve. Start by removing the legs and thighs. Using a sharp knife, slice the breast meat, following the natural lines of the bird. Be sure to carve the turkey carefully to avoid tearing the meat and to ensure even slices.
Placing the carved meat on a platter, you can garnish it with fresh herbs like rosemary or thyme, adding a festive touch. Serve the turkey alongside your favorite side dishes for a classic Thanksgiving feast.
Pro Tips for a Perfect Thanksgiving Turkey
-
Thermometer is key: Always use a thermometer to check the turkey’s internal temperature. This helps you avoid undercooking or overcooking the bird.
-
Avoid overbasting: Too much basting can interfere with the turkey’s ability to cook evenly. Stick to a few basting sessions, but don’t open the oven door too frequently.
-
Keep the skin dry: Before cooking, make sure to dry the skin of your turkey thoroughly. This will help the skin get crispy and golden.
Cooking a Thanksgiving turkey doesn’t have to be stressful. By choosing the right bird, brining it for flavor and moisture, and following the steps to ensure it cooks evenly, you can serve a turkey that’s both tender and juicy. The key is to let the turkey rest before carving, and with these simple tips, you’ll have a perfect Thanksgiving centerpiece that will leave your guests wanting more.